

After my DIY preamp failed, I decided it was time for a re-vamp.
- new box
- new RCA terminals
- new wiring
- upgraded opamp
This preamp is based on the Elliot Sound Products P88 board.
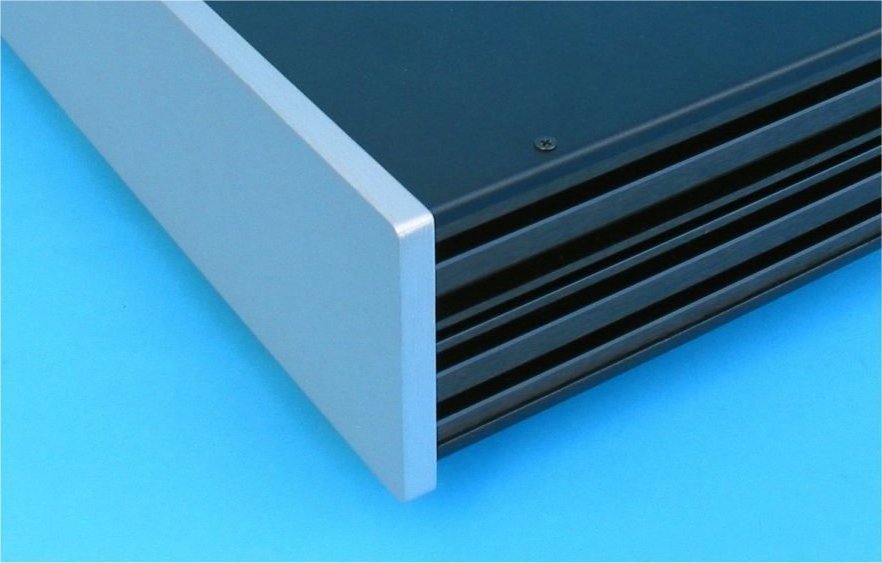
The case
After investigating local and international options, I opted for the economical 2RU rack mount case which was on special at Altronics.

While it is a low cost option, I've found it's quality to be very good. The case requires assembly but is very simple. The case is steel, with a brushed aluminium front and an aluminium rear panel. My only complaint is that the rear panel has a gloss finish which looks a bit cheesy. After drilling all holes I decided to spray the enclosure (bottom and rear panels). This brought the rear back into a matching finish.
I also considered some impressive cases from Modu in Italy.
The cost was quite a bit extra, however, they are actually cheaper than most local options even where the local options are very plain rack mount cases. My plan is to conceal my equipment in a rack, but if I were planning something more visible, then the extra cost would be worthwhile.

The layout allows for the addition of other parts in the future. I may add a remote volume board and possibly also a DSP crossover. As you can see, I prefer a minimalistic exterior. The front panel has nothing more than the volume knob. No LEDs or power switches. The balance control has even been placed on the rear.


Previously I had a working remote volume control board. Unfortunately one mistake with the power supply wiring destroyed it! I have drilled the holes for the board, just in case I manage to get it going again. Being a steel case, I prefer to spray it so there is no bare metal.

Since opamps were installed into sockets, they can be easily removed and changed. I originally used TL072, but have since upgraded to Burr Brown OPA2134, which is an opamp preferred by many.

You may notice two sets of switches, each with 4 individual switches. These set the gain. It is very useful to have a choice here.

The original preamp failed due to a faulty toroidal transformer. I had it tested by a friend who knows a great deal more about electronics than I do. He informed me that the transformer was faulty due to a manufacturing issue. I needed only to replace one fried resistor, a fuse and the transformer to get it working again. Rather than opt for another of the same transformer, I decided this time to go for a different type.

Heatsink overkill? Probably! I have seen many voltage regulators with no heatsink at all, and those with heat sinking are usually small. My excuse is that I was just following the instructions!
How does it sound?
I had thought that preamps are all very transparent. When this one failed, I replaced it with the preamp in an old Akai integrated amp from the 80s, back when Akai made half decent hifi components. The difference was immediately apparent as a backward step. There was a change in tonal balance, such that I had to redo my crossover and EQ settings. My DIY preamp here is far more transparent in comparison. It has no noticeable sound of it's own, but is clean and transparent. There is no more that I can say. It simply does its job and gets out of the way.
No comments:
Post a Comment
All comments are moderated.