
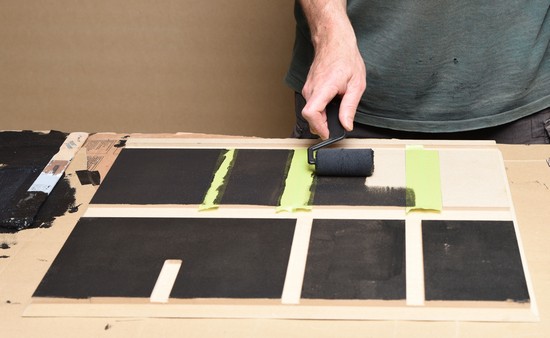
It's a good idea to seal the internals before assembly. Later, it will be difficult to access. Here I'm using Duratex rolled on. A heat gun speeds up the process so that we can move on quickly.
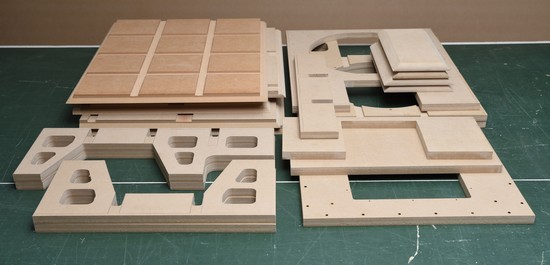
Now the back and braces are laid out. You can see the braces sit into machined trenches.


 Lowering the internal baffles into place.


 Solid timber braces put into place. These will be glued in place later. The absorber panels are already glued in place. Later, access is impossible. The unpainted parts are the trenches on the sides, top and bottom.

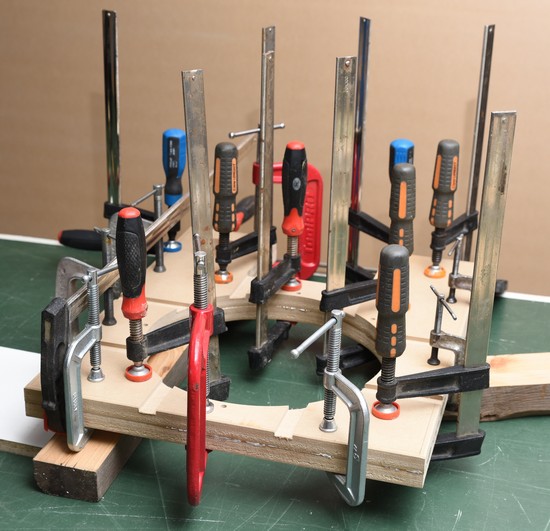
 I haven't taken photos of the assembly of the solid timber braces and the port, which has four pieces, with round overs on both inlet and outlet. There is also a brace not shown. This part of the build was fairly involved, with many panels being secured in rapid succession. It's difficult to handle the camera when dealing with polyurethane glue.


The enclosure is left over night, then the next day, sanded and a small roundover is applied to all the joints.

Next the driver can be installed. I like to insert string through the holes so the driver can be re-positioned. Otherwise the driver might not be rotated correctly and the pilot holes might not line up.


The driver is lowered into the internal baffle. Cables are routed to avoid hitting the cone. Foam gasket avoids air leaks.

Next the back panel is added and the sub is tested.

No comments:
Post a Comment
All comments are moderated.